


The easy and cheap way to make cushions for your home by using napkins and placemats! All the hints and tips to up-date your space with pretty DIY cushions!

Changing up my bedroom for each season is a great way to freshen up the space. The best way to do this is to add some colour....reds and deep browns for winter and fall and fresh, crisp blues, colours and whites for spring and summer.
Changing cushions are the best way to get an instant change and feel to a living space. The only problem with changing is the cost!! Pretty cushions from stores can cost anywhere between $20.00 and $50.00 each!!
Now I did love to buy new cushions and little trinkets to decorate my home but after a while it would add up and it would be too costly.....AND I would just have too many cushions to store. Lets be honest how many cushions do I really need?? 😉
So I came up with an alternative.... a really cheap way to re-style my home for the seasons!
....actually 2 different ways !! (and on the cheap!)
DIY Flange Cushions made with napkins!
There are gorgeous napkins in the stores right now and I have to be honest and say we don't use napkins the traditional way. Either we are not very messy when we eat (or we use paper towels at BBQ etc - saves on the washing.)
But...I do use napkins to make cushions!
Recently I came across a packet of very pretty napkins - four different patterns in a packet with matching colours. Yes, they were on sale and at $5.00 a pack they were a bargain!!
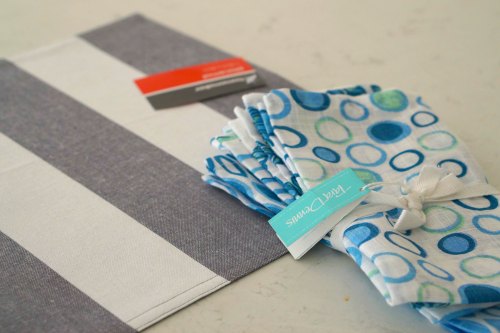
The best part about using napkins to make pillows are that they are already hemmed....and they are the perfect size for cushion inserts - so no cutting!
To make a flanged cushion means that you have a nice frill around the edge of the pillow. It looks a lot more professional than simply sewing two pieces of material together , turning it inside-out and adding in the pillow.
1.Using two napkins, lay them down with the 'good side' facing outwards

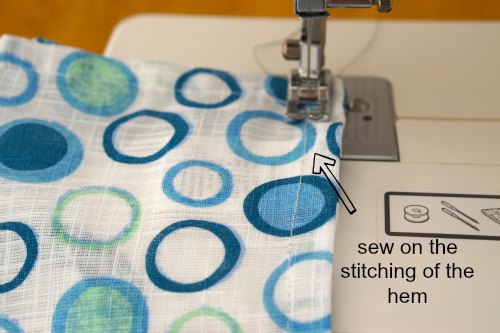
2. Pin 3 sides and sew (either with a machine or by hand) on the stitching of the hem. This will give you the frill around the edge of the cushion. You can make this as big or as little as you like, but just make sure you measure so the cushion insert will fit.
3. Fill with a cushion insert (which I already had on hand from all those expensive pillows I purchased 😉 )
4. Then either machine or hand sew the remaining side, on the hem seam. If you wanted you could add a zipper or fasten with velcro strips but I simply un-pick to change the covers (as they are so cheap!)
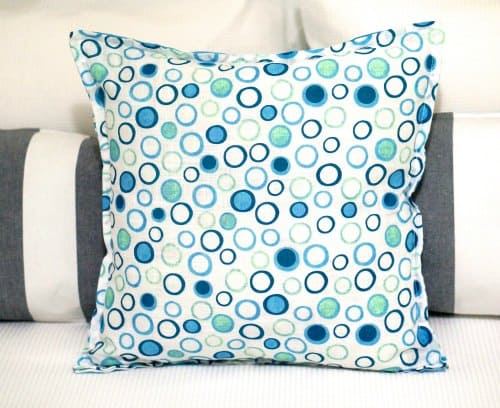
So I made two pretty cushions for my bedroom and the best part is that they are reversible...so I guess I can change the pattern each day just by flipping the pillow (...I truly am not that obsessed!...you believe me...right?? :-))
Cost $2.50 per pillow...bargain!!
DIY Cushions made with Placemats!
As the weather changes, the sales in all the shops pop up. This is the best time to purchase placemats. I recently spied some placemats on sale for only $1.00 each and fell in love with the simple but stylish stripes.
Transforming placemats into cushions is really easy ...just follow the 5 easy steps!
- Purchase material placemats that have two pieces of material sewn together. Not the type that are made of plastic (...they just don't feel very comfy ;-)) I purchase the ones that are a little stiff to touch. I know that these have a interfacing in them to keep their shape. (These are great because they also keep a great shape to the cushion too!)
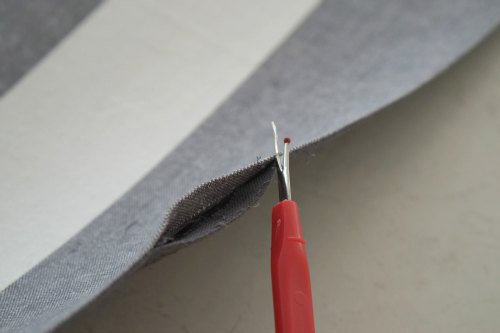
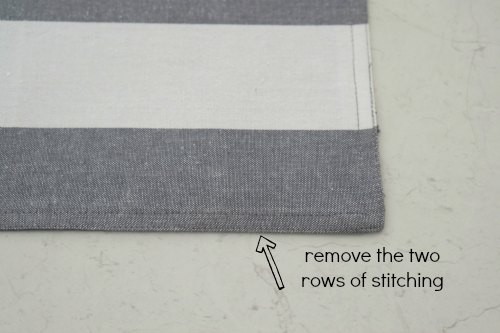 2. Using a quick-un-pick, simply un-stitch one side of the placemat. It may have two rows of stitching which this one did.
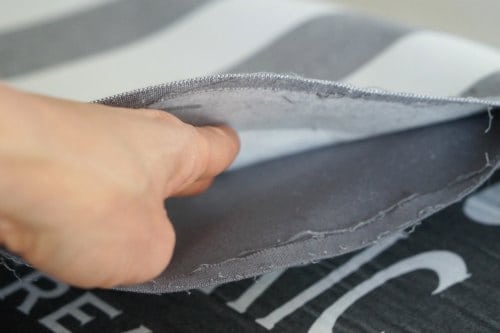
 3. Using an iron, simply re-heat the interfacing and then using your hand, push the two pieces of material apart. (This is really satisfying if you need to release some frustration ;-))
(warning : take care when pushing your hand in between the material in case it is still hot.)

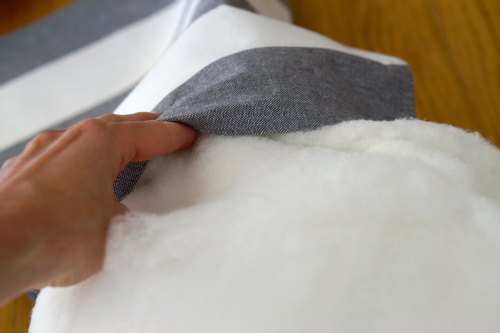 4. Then fill with the filling from an old pillow (that has been washed). Make sure you fill to the corners of the cushion.
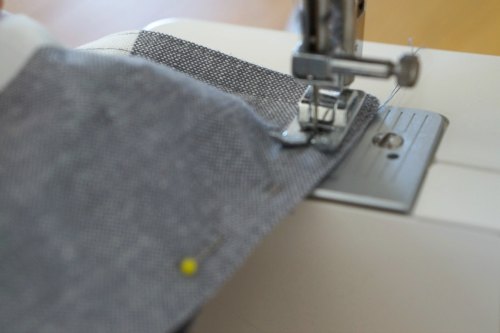
5. Pin the side closed and using a sewing machine, simply sew up the side. It should be easy to see where to sew as the holes from the previous stitching will be obvious.
See....2 new cushions all for the total cost of $2.00!!

Now I can change around the cushions as often as I like!! 🙂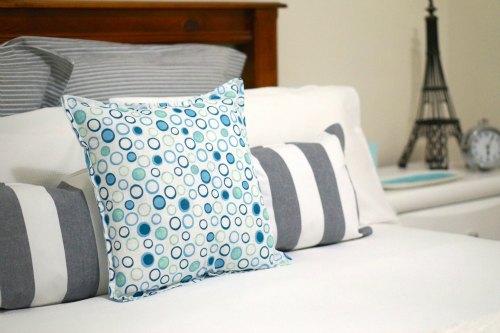
Let me know what are your tips to changing up your space?
🙂
Sharing at The Dedicated House
You might also like....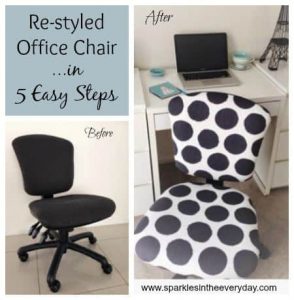
Re-Styled Office Chair in 5 easy steps!!

How to make Tomato Chicken Curry ...from scratch !
🙂
Mari
Barb this is fantastic!!! I would have never thought. I am currently working on turning my daughter's toy storage box into a functional open storage space and use the top as a sitting bench for her visitors and this DIY just might work as my cushions. Thank you great money saver! Just pinned.
Sagan
Neat idea - these look gorgeous! Pinning. I can't wait to try making these!!
Lisa @ Fun Money Mom
Oh my gosh...what a creative idea! Your pillows turned out so cute and I really love the polka dots! You should really sell these!
Visiting from Friday Features
Julie
You made such pretty cushions. Thanks for the tutorial.
Brooke
Wow! This is such a fantastic idea to reuse something, I can't believe this never occurred to me. =)
Amberjane
What a clever idea - Thanks for linking up to Pin Worthy Wednesday, I have pinned your post to the Pin Worthy Wednesday Pinterest Board.
Angela, Blue i Style
This is such a great idea! I am always seeing patterns I love on napkins and place mats, but I never buy them because we just don't use them for dining very often - but making them into pillows is so smart! Those I can always use! 🙂 Thanks for linking up with us at The Creative Circle!
Amberjane
Quick and clever way to make cushions - thank you for sharing with us on Pin worthy Wedensday Barb