


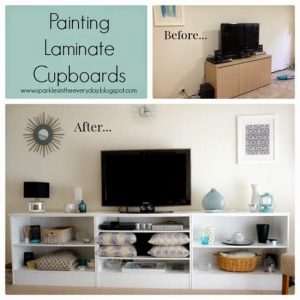
All the steps to transforming an old meat safe cupboard into a useful, pretty storage cupboard!
I love a good 'before and after' story...especially where something old (and can I dare to say 'ugly') has been given a new lease on life and transformed. There is something special about knowing that with just a little effort, something that was to be thrown away has been 'saved' and put to good use.
This old 'meat safe' was one of those pieces of furniture that was in fashion in the 90's when that lovely orange coloured stain was in fashion...yes it really was popular back then and I had plenty of it (...insert shocked look 😱 ).
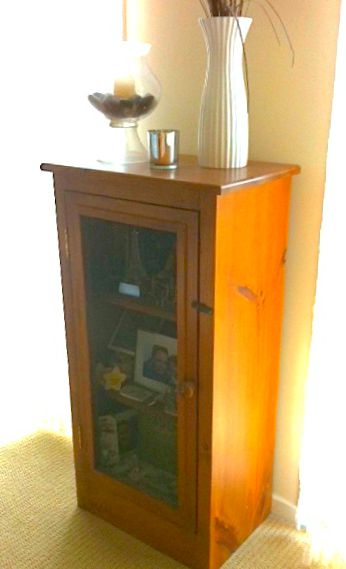
So it sat in my garage for many years waiting to be transformed. (sorry for the awful photo but this one really shows that 'delightful' orange colour :-/)
You are probably wondering what is a 'meat safe'?
What is a Meat Safe?
In the past, a 'meat safe' was used in the days before ice boxes and fridges and was a piece of furniture that was used to store meat and other food items. The meat safe also stored pies, bread and other food to protect them from insects and vermin.
A meat safe is also known as a meat cupboard, meat chest or a pie safe, pie cupboard or kitchen safe. Traditionally meat safes or pie safes were pieces of furniture that had wire mesh on the front and on the sides, to let the fresh air in and stop 'critters' from getting to the food. When the weather was hot and to stop the food from spoiling as quickly, wet cloths were put over the sides of the safe to cool down the air inside.
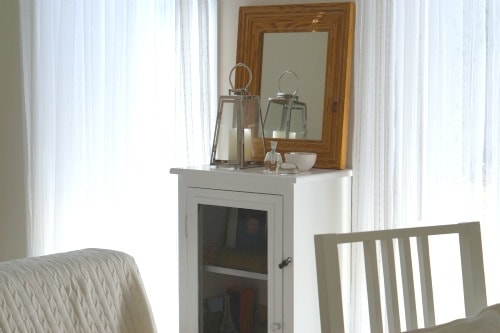
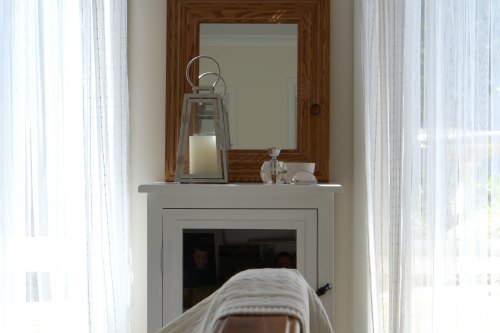
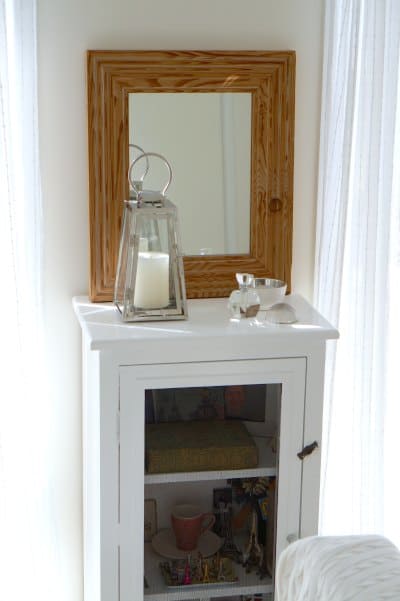
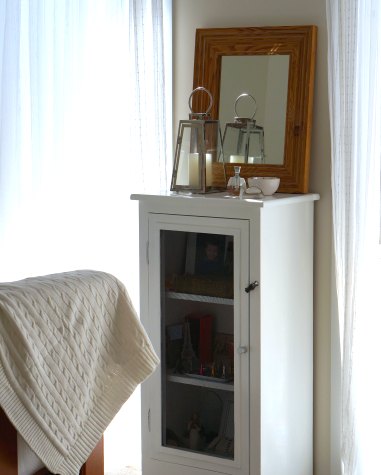
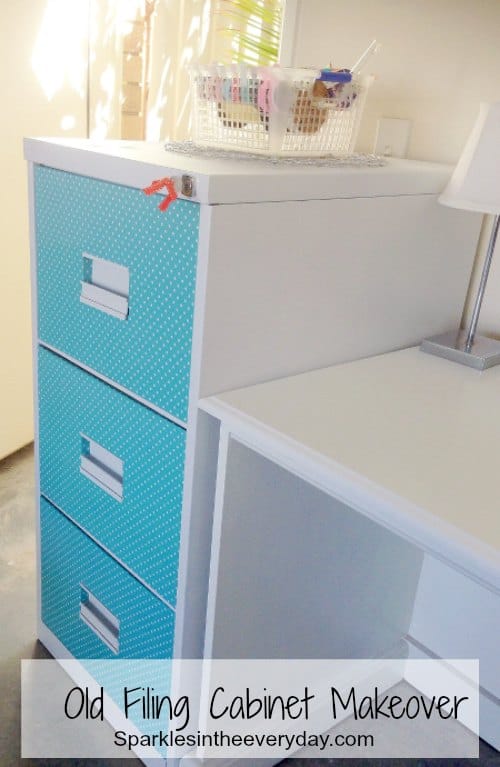
So with a little bit of effort and paint, the old meat safe was transformed into a pretty and useful storage cupboard.
There were a few tips to making bringing out the beauty in this little cupboard.
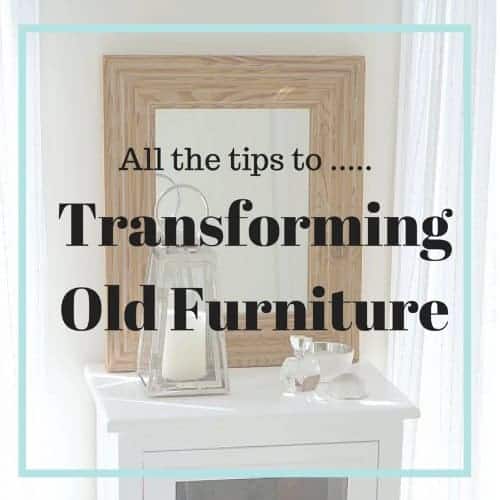
Tips to transforming old furniture!
1. Cleaning
With any old piece of furniture I always make sure I give it a good clean. A good wipe over with a disinfectant like Pine-o-clean will get rid of any bacteria or mould. When that has dried I then give it a wipe over with vinegar to get rid of that old 'stinky' smell that comes with old thrifted furniture. It works really well. At first it may smell like a fish and chip shop but then that smell disappears and you have a very clean, old piece of furniture.
(Before you start painting make sure you use painter's tape to tape off any areas where you don't want paint to go.)
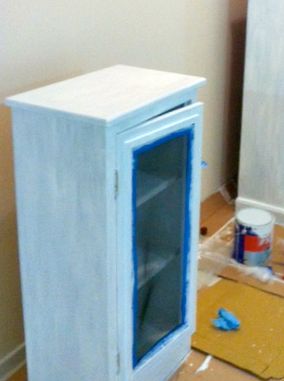
2. Primer, Primer, Primer
If your old piece of furniture needs to be sanded, especially if it has a layer or two of lacquer, go ahead. This helps the primer and paint stick to your furniture. Many pieces of furniture probably won't need to be sanded and you can go ahead and start with the primer. This is probably the most important step to make sure the previous stain does not come through your paint and it also helps the top coat adhere to the furniture.
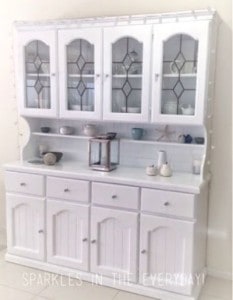
You can see how important primer is when I transformed an old hutch and when painting laminate furniture to update my living room.
3. To stop the brush strokes
When painting old furniture it is always best to 'cut in' the corners with a brush and then use a small foam roller, to get a really good, smooth finish. If your furniture it really grainy, the first coat can be with a brush, (to give a good thick coat), but then continue with a foam roller to smooth out the brush strokes. (There are products at your local paint store that you can add to the paint to make it smoother.)
4. Your brushes
To save washing the brushes, rollers and roller pan after each coat and while I am waiting for the coat to dry, I wrap my brushes and rollers in cling film (plastic wrap). Wrapping them tightly in the plastic wrap stops the air from getting to the paint and drying the paint. I have left my brushes and roller pan like this for days and to simply come back, unwrap them and start painting again. You really do save a lot of time, money and there is less mess doing it this way.
5. Top Coat Techniques
Whatever type of top coat you use - satin, glossy, chalk paint etc it is always best to start on the inside of the furniture. For example it is best to do the shelves and the back of the doors first as this gives you a chance to get comfortable with your brush strokes and then by the time you reach the more obvious parts of the furniture you have the painting perfected!
I use cheaper brushes and rollers for the primer but I always splurge on good quality brushes and rollers for the top coats. There is noticeably different results from using good quality brushes on the top coat ( and with the cheaper brushes I am always finding bristles left behind in the paint...annoying :-/)
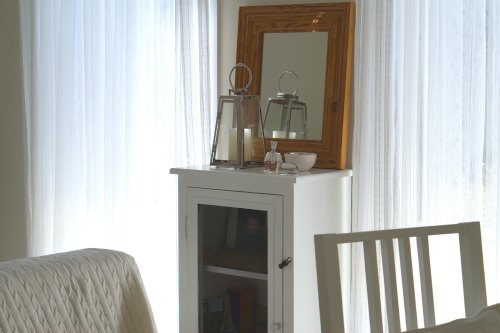
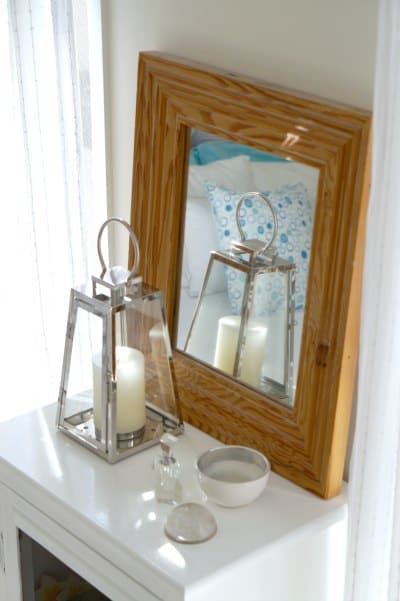
Using all these tips has brought this old meat safe to life .....and it now has a new home, keeping some loved trinkets safe and looking very pretty!
😃


Maria @ Pastels & Macarons
Some great tips! Looks great also. I especially like the tip about wrapping the brushes in clingfilm to keep them from drying out and having to wash them.
Terry
Great tips! I really like how the meat safe turned out! Well done! I would like to invite you to share some of your work at my Making Broken Beautiful party this week! It runs every Thursday thru Sunday. I do hope you will come share some inspiration!
Smiles!
Terry
http://thecuratorscollection.wordpress.com
Alicia | A Burst of Beautiful
Hi Barb,
What a terrific DIY project. I loved all of your tips, and I really enjoyed learning the history of the meat safe - I had no idea! Thank you so much for sharing at Create • Share • Inspire, we hope to see you back this week!
Alicia
Nikki Frank-Hamilton
It turned out really pretty, although I am really missing the orange color. LOL I love the tip about wrapping your rollers and brushes in plastic wrap. When we moved in our home I painted each room and then wrapped the rollers and foam brushes in plastic and stored them in the fridge. We have children, and I'm not particularly graceful, so as we moved in furniture over the next few weeks I was able to use the brush or roller from the fridge to touch up any scratches. They stayed wet in the fridge for weeks. It was such a great time saver. Now when I'm working on a big project I wrap them as I go and wash them at the end. I hate washing brushes so this is a small miracle for me! LOL
Rhonda
Great tips. I'm in the process of painting some old furniture, so these tips will come in handy. Thanks for sharing on Sunday's Best.