


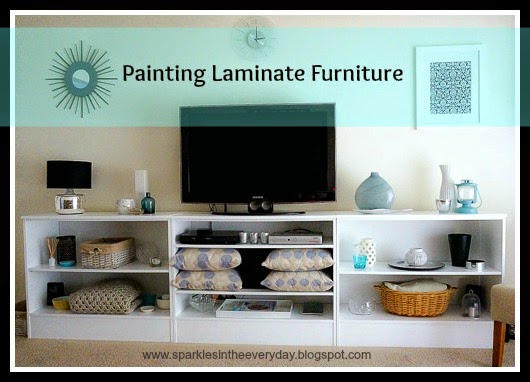
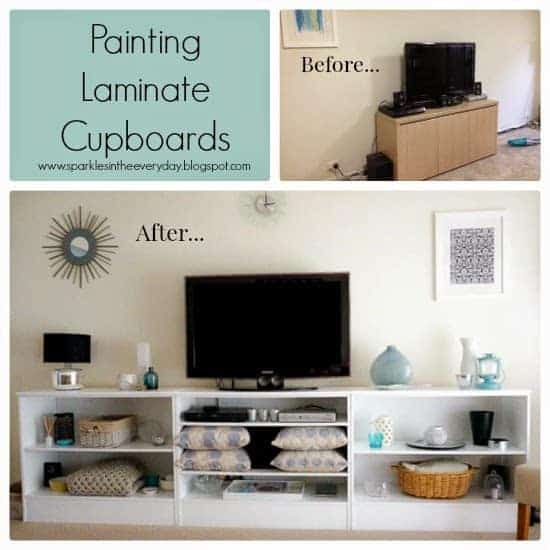
I am pleased to say that ...yes, you can paint laminate furniture including old cupboards and shelves!!
It was easier to do than I thought. The best part is that it doesn't scratch or peel and it transforms old, ugly, laminate furniture to something that is wonderful. (Now, I really love that part)
It really is as easy as steps 1,2,3...
I was fortunate to receive some old shelves from a business that was closing down due to the owners retiring. I was so happy to get these shelves to use in my garage to organise all those bits and pieces and get them off the garage floor. I never really thought of them other than just shelves to store junk.
(I know...how did I not see the potential??).
(I know...how did I not see the potential??).
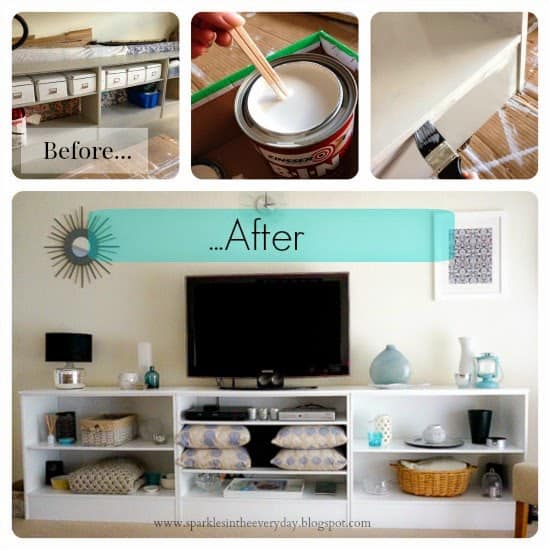
Before....

(... just pretend you can't see the old mattresses and painting cardboard 😉
Now our T.V room needed a facelift and it needed to be done on a budget (and that meant cheaply...really cheaply). With life being really busy with work, children, appointments, etc, I hadn't realised how old and tired my living space looked.
As I was looking for paint in the garage to paint the old T.V. cabinets, I came across the shelves in the garage and saw them in a new light.
The only problem.....they were an ugly grey, shop colour. .
..No 'va voom' there at all.
..No 'va voom' there at all.

These 3 shelves did not cost me anything as long as I removed them from the shop. So 3 trips later and squishing them into my car one at a time, I brought them home and plonked them in my garage where they sat for 2 years. They were really handy for storage, they weren't too wide and didn't take up lots of room ....and they were for FREE!!!..(See me smile).
So, just as the weather has started to turn cold and knowing that we will be spending more time at home, indoors, I wanted to give our lounge room a facelift.
When it is summer and warm, gorgeous weather, we don't really spend that much time indoors, but now with the cold and wet weather, we get cosy, watch movies and hibernate inside.
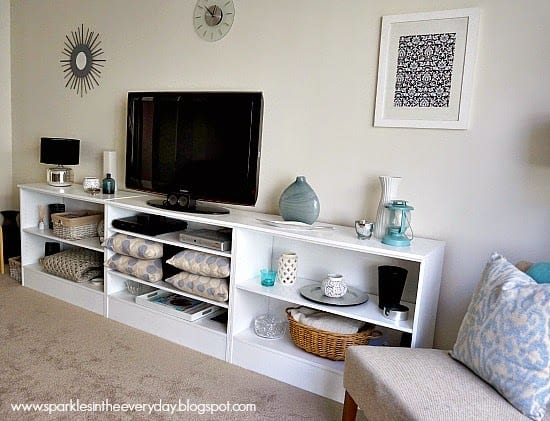
Painting the open shelves was by far the best idea!
The open shelves meant we could store our DVDs, blankets, floor pillows, magazines ...
...and add a few little things to make the shelves shine!
....After
How to Paint Laminate Furniture
Step 1 - Cleaning
After removing all the bits and pieces (commonly known as junk) from the shelves in the garage and then remembering to take a photo of them at the 'before' stage, I gave them a good scrub down with sugar soap, to remove any grease, marks or stains. After a good wash, they looked better but still they were still a boring grey.

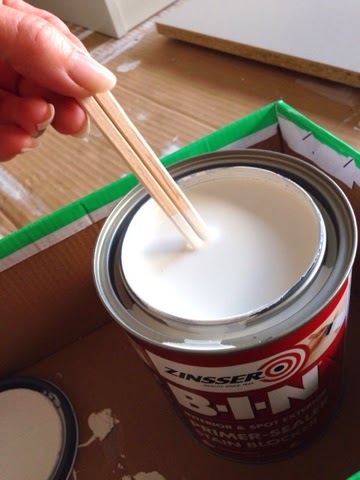
Step 2 - Undercoat
To paint laminate furniture and shelves, I needed to use an undercoat, as paint does not stick onto the plastic coating of laminate. I used Zinner undercoat and gave the shelves just one coat.
This product surprised me, after giving it a good stir, I used a brush for the corners and then simply rolled on the undercoat. Once it is dried this is what the top coat will adhere to.
(The undercoat was a little stinky, so opening up the garage door helped with ventilation.)

Step 3 - Top coat with semi-gloss paint
I let the undercoat dry for two hours while I went food shopping and then came back and started with the first coat of semi-gloss paint.
I used the brush for the corners and a roller for the rest...really easy!
Tip when painting - I always put my cans of paint in a shoe box just in case of little accidents...and drips.
As you can see, old Ikea boxes come in handy for laying down when painting..they are big enough to keep the floor clean of paint splatters and comfy to sit on while painting.
Yes...you can tell I have used them often...you can tell by all the different colour paint splats.
As you can see, old Ikea boxes come in handy for laying down when painting..they are big enough to keep the floor clean of paint splatters and comfy to sit on while painting.
Yes...you can tell I have used them often...you can tell by all the different colour paint splats.

Please excuse the awful photo...but this was late at night!
After one coat of semi-gloss paint they are starting to look much better!!
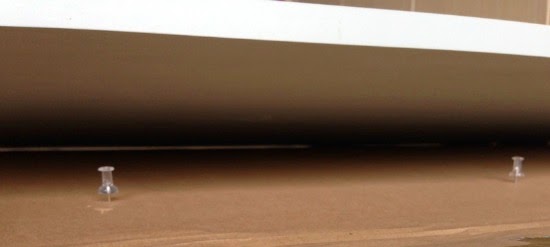
Tip when painting shelves - When painting the shelves, I used push pins, pushed into the cardboard, so that I could rest the shelves on.
This way I was able to paint the top and both sides in one hit as they were lifted off the cardboard (and then wont stick to the cardboard or have any drips)
2 coats later, I let the shelves sit for a day and night and then came to moving them into my lounge room.
I have always put off trying to paint laminate as I had heard stories of the paint bubbling and looking streaky... but it turned out smooth, gorgeous and looked just like it was meant to be this colour!
Painting was the easy part, the hardest part was moving the old T.V cabinet.. it was sooo heavy...but inch by inch it moved.
(Aren't you surprised at how you can moved things when you really want to! 🙂 )
And once again, forgot to take a 'before' photo, so here it is with half the furniture removed.

blah!....
As the shelves in the new storage stands are open, I needed to hide the cords, so I went to my local hardware store and picked up 3 sheets of MDF, which have one side painted white . ..bonus...no need to paint them!!
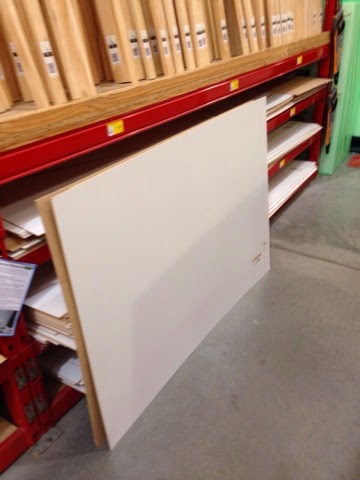
After measuring up and cutting the MDF with a saw. I simply slipped the boards behind the shelves and nailed with thumbtacks. I didn't want to nail them, because I want to be able to change the back of the shelves, when I want to add a bit of colour or pattern by pasting on wallpaper to MDF
(I did cut a hole to slip the cords through on the centre piece.)
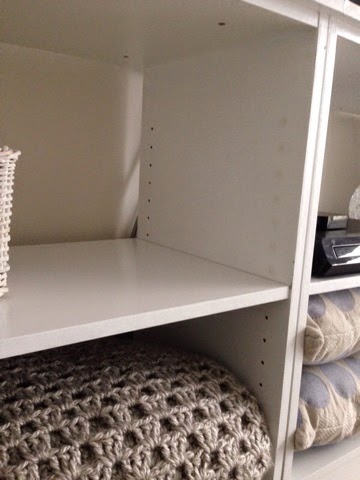
While I was at the hardware store, I wanted to find little caps to go into the holes in the shelves (where the shelf plugs sit) but couldn't find anything like that but they do have little stickers to go over the holes to hide them.
Yes please...they will do! 🙂
Yes please...they will do! 🙂
Now for the best part...styling the shelves!
I used a basket to store our DVDS, placed the floor cushions on the shelves, so they are easy to get to when wanting to be cosy on the floor and added some blankets.
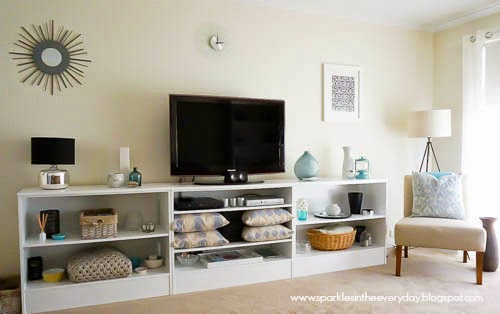
Everything ready for the colder weather!
Ahhhh!....so much better and it cost only $110.00 for a new living space.
(That includes the undercoat, semi gloss paint, MDF boards and little stickers for the holes. I still have ½ can of undercoat left.)
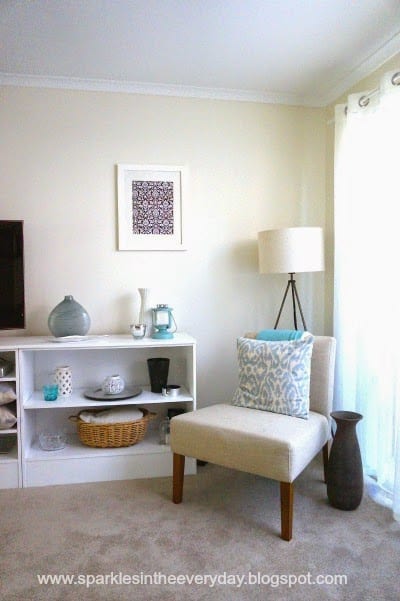
The T.V rooms feels so light and airy...
I can't believe how easy it was to paint laminate furniture especially these old, grotty shelves from the garage...
and that a simple paint job was all that was needed to give the shelves a new purpose!
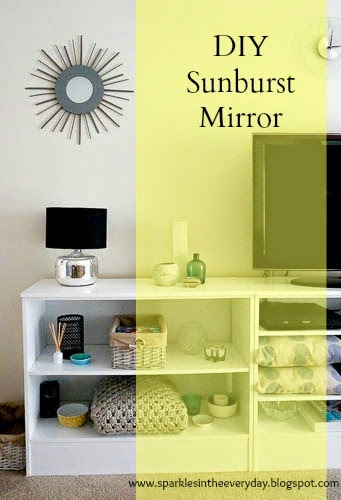
If you would like to know how I made the DIY Sunburst Mirror...
Follow with your favourite social media. (see below or in the side bar)
Sign up for emails in the right side bar.
You might also like....


Meredith Wouters
Doesn't everyone keep painting cardboard in their garage? 🙂 I'm so glad to find your tutorial. This is a question I get asked a lot, whenever I do a tutorial on painting wood furniture. Nice to know where to send people when they want to know!
Kristen Campbell
Amazing! This is such a great tutorial - there are so many who discard laminate furniture because they don't think they can paint it! Thanks so much for taking the time to link up with us at the #HomeMattersParty - we hope to see you again on Friday! Feel free to bring a friend 🙂
Trish Martin
This looks awesome. Thanks for the tutorial.
Tampa Cake Girl
I have always wondered about painting laminate. Thank you for great inspiration and the tutorial. Looks great! Thank you very much for joining in the celebration of #purebloglove, we enjoy having you each week. I hope to see you on Thursday at 8PM, EST through Sunday night. ~Cydnee
Kristen Campbell
Hi, Barb! Wanted to let you know that we loved this post you linked up last week at the #HomeMattersParty so much that we featured it this week! Check it out if you get a chance at http://theroadtodomestication.com/2015/05/01/home-matters-linky-party-35/ Happy Friday!
Julie
These turned out beautifully!
Vineta @ The Handyman's Daughter
I have a few IKEA pieces that could use some paint love. Thanks for the great tutorial!