DIY Restyled Storage Box - the steps to transforming an old toy box into a pretty bench seat!
For years I have had this box in the boy's room full of toys. It has been knocked around, stood on and even drawn on.
I wanted to throw it away but it is really useful....just not the best looking box.
It was an awful brown colour, so I gave it a quick sand and gave it two coats of undercoat/primer.
A primer is necessary if you want to stop the awful brown colour from seeping through the top coat of paint. (...trust me...no-one wants that awful brown colour seeping through!)
I really wanted that 'fresh beach look' so I opted to give the box a good splash of white paint.
Sorry... I didn't take a picture of the box it all its 'brownness' but I am sure you get the picture.
This is the box with the first coat of primer.
The steps to making the DIY Restyled Storage Box
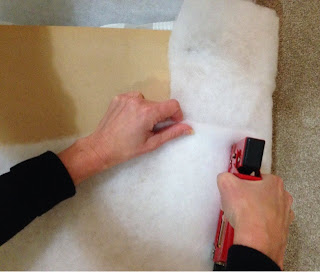
I didn't want to spend any money just in case it didn't turn out, so I rummaged around my garage and linen closet and found an old piece of particle board and cut it to size.
I didn't have any material that was suitable, it needed to be tough and not go saggy.
So I caved in and purchased a piece of curtain fabric that was lined (and on sale for $7.00...yeah!!)
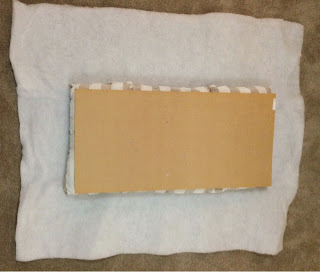
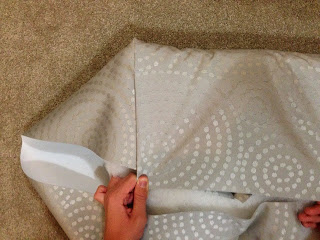
I made sure it was big enough to cover the board and to have some overhang to cover the wadding.
I ironed the fabric to make sure there wasn't any creases when I had finished. (...You may not need to do this...not really sure if it made any difference :-/ )
I laid down the board onto the material, making sure the pattern was facing down.
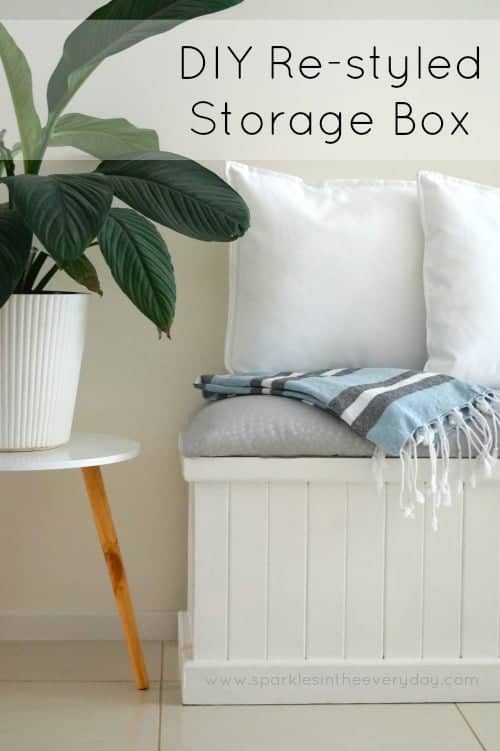
.... and the after picture - the ugly duckling box turns into a pretty, useful storage bench!
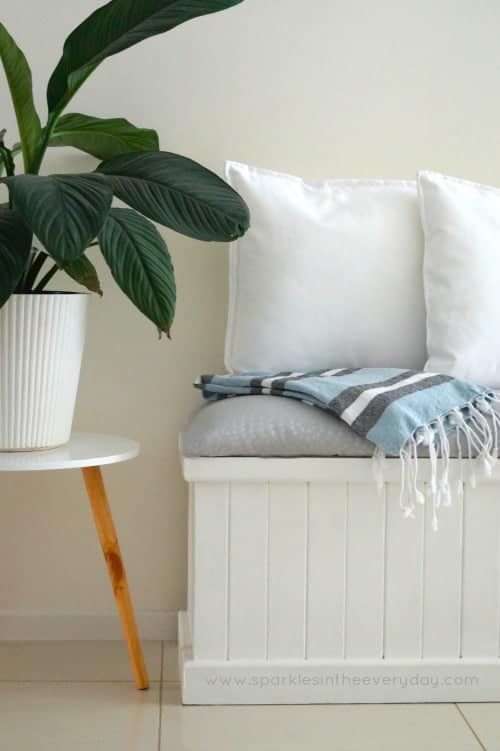
Sometimes just looking a things differently and finding bits and pieces around the house can make all the difference.
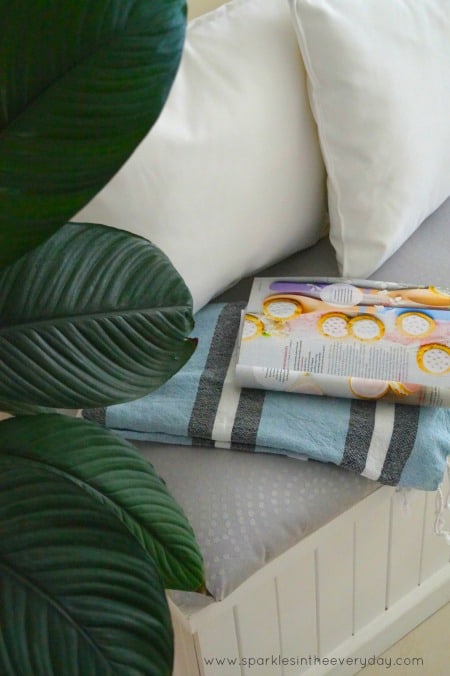
This DIY Restyled Storage Box is now the perfect spot to sit, relax and read a magazine ... and to store the magazines too!
🙂

You might also like....










Leave a Reply